How to Rollback to a Previous WordPress Plugin Version
I’ve had to do this a few times. I provide website maintenance for quite a few of my web design clients, and I always keep their WordPress websites up to date (see my previous blog post on this). Most of the time, everything goes off without a hitch, but sometimes, a plugin won’t work properly after upgrading.
Rolling back to a previous version should be done after you’ve deactivated all of your other plugins to check for any conflict. Be sure to backup your WordPress site before rolling back a plugin to a previous version. There are many free database backup plugins, but I recommend BackupBuddy.
So here are the steps:
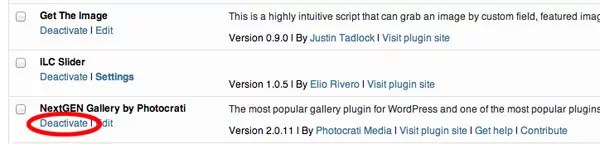
1. Deactivate (do not delete) the plugin you are downgrading. If you forget to deactivate the plugin, your website may not pull up and show errors until the downgraded files are all uploaded.
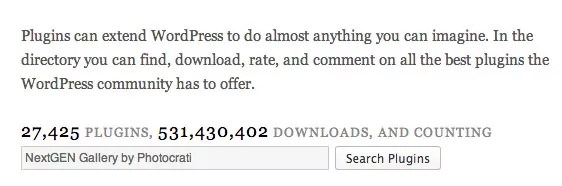
2. Search for the plugin in the WordPress plugin directory.
3. Click on the Developers Tab and download a previous version. You can start with the most recent one.

4. Unzip the file, locate the plugin directory on your remote server, and upload all of the unzipped files to it.

5. Go back to the admin panel of your WordPress website and activate the plugin. Note: you should see a lower version number of the plugin.

6. If your problem still persists, repeat steps 3-5 with a lower version number of the plugin. Hope this helps.
